
VirtualBox Windows Installation Guide
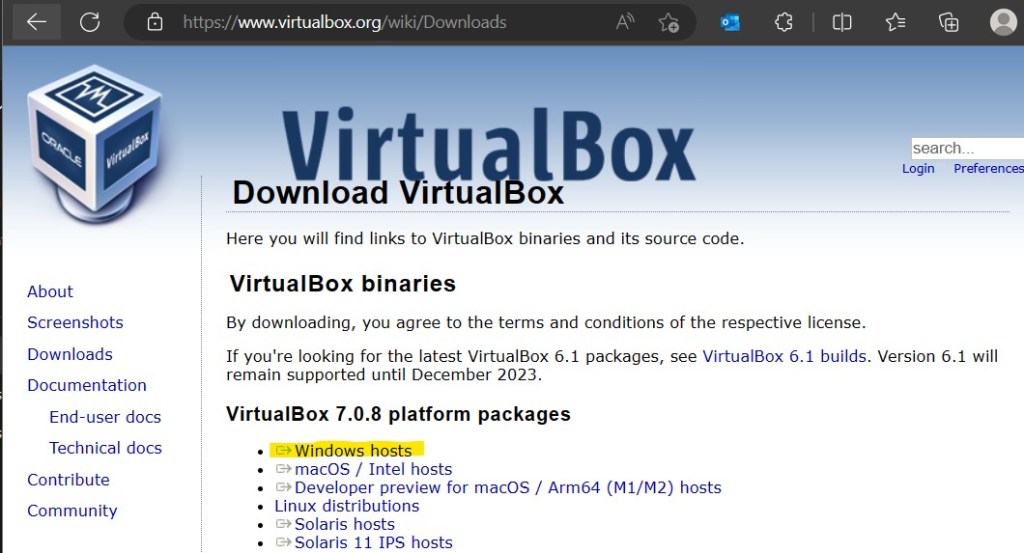
- Download current VirtualBox version from https://www.virtualbox.org/wiki/Downloads
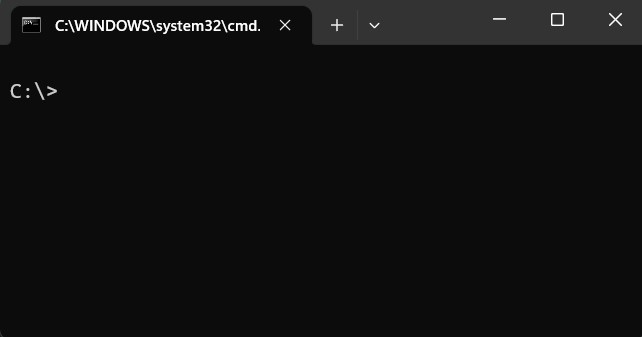
- Verify the file hash after download by opening CMD and using the certutil -hash <path/file> <hash type>. Example: certutil -hashfile C:\path\file SHA256
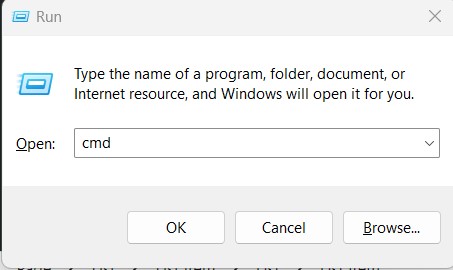
- Command Prompt can be opened by pressing Windows+r, type cmd, and then press OK.

Note: Make sure to generate the correct hash type, otherwise it will not match. Also, make sure there are no spaces in the file path or else you will get a command error.
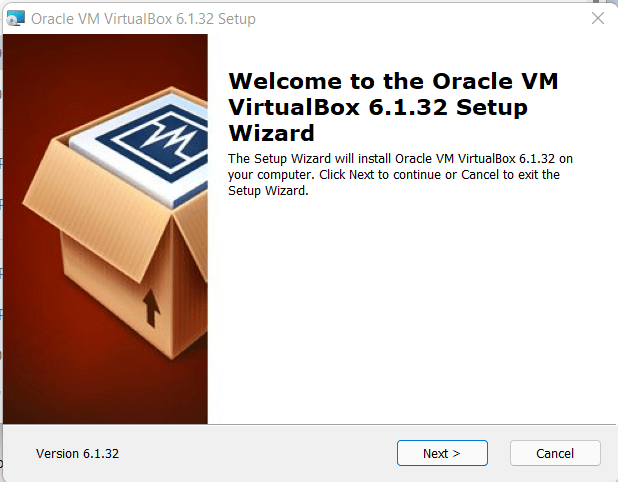
- If the hash checks out, proceed to install VirtualBox following the installer prompts.

- Select Next.
- Verify you have the proper disk space available prior to proceeding. Select Next.

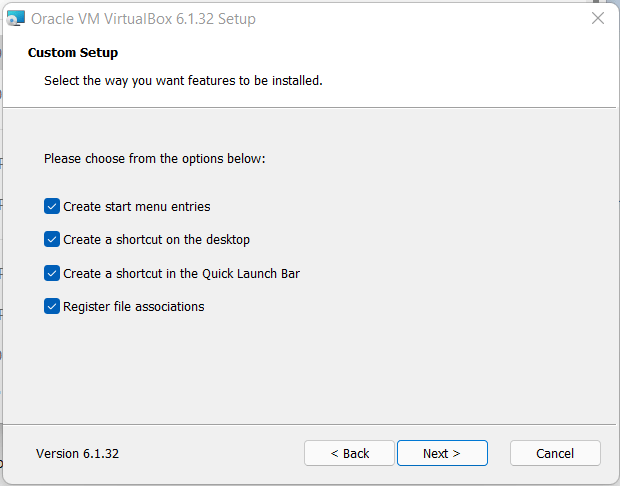
- Decide which shortcuts you want and be sure to check the ‘Register file associations’ box, as it will update the Windows registry for VirtualBox files.
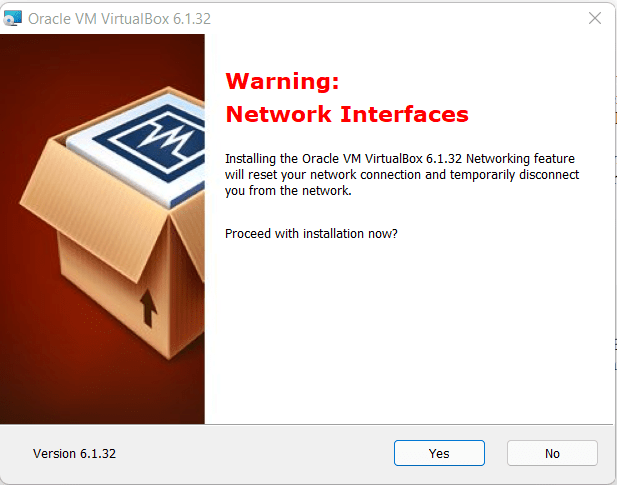
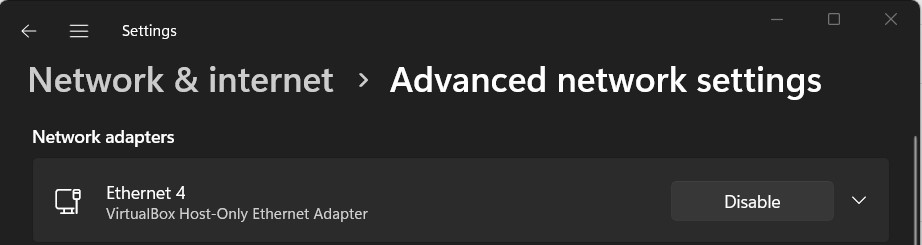
- Accept the following warning message as it is used to create a virtual network adapter. This will allow VirtualBox to connect to the network. When installed correctly, you should see a VirtualBox Host-Only Ethernet Adapter in your computers advanced network settings.
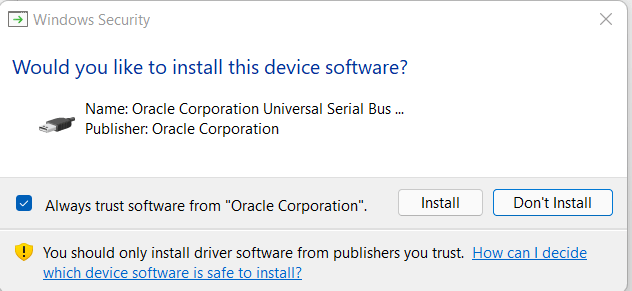
- Select Install and if a Windows Security popup appears, select Install to continue.

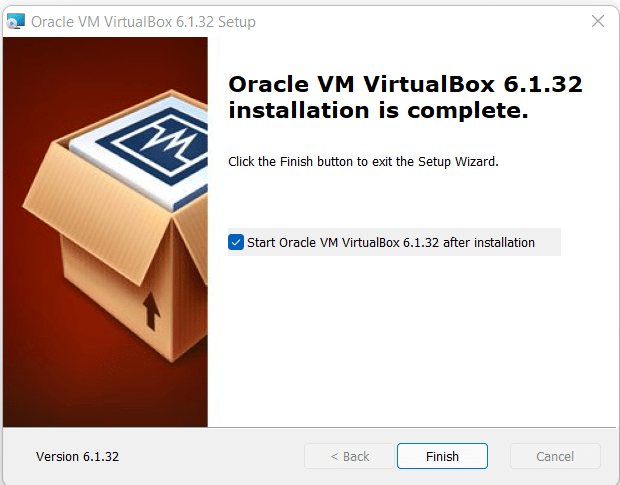
- Upon completion of the installation, select Finish.
VirtualBox Configuration
Coming soon.
Kali-Linux VM Setup
Coming soon.
